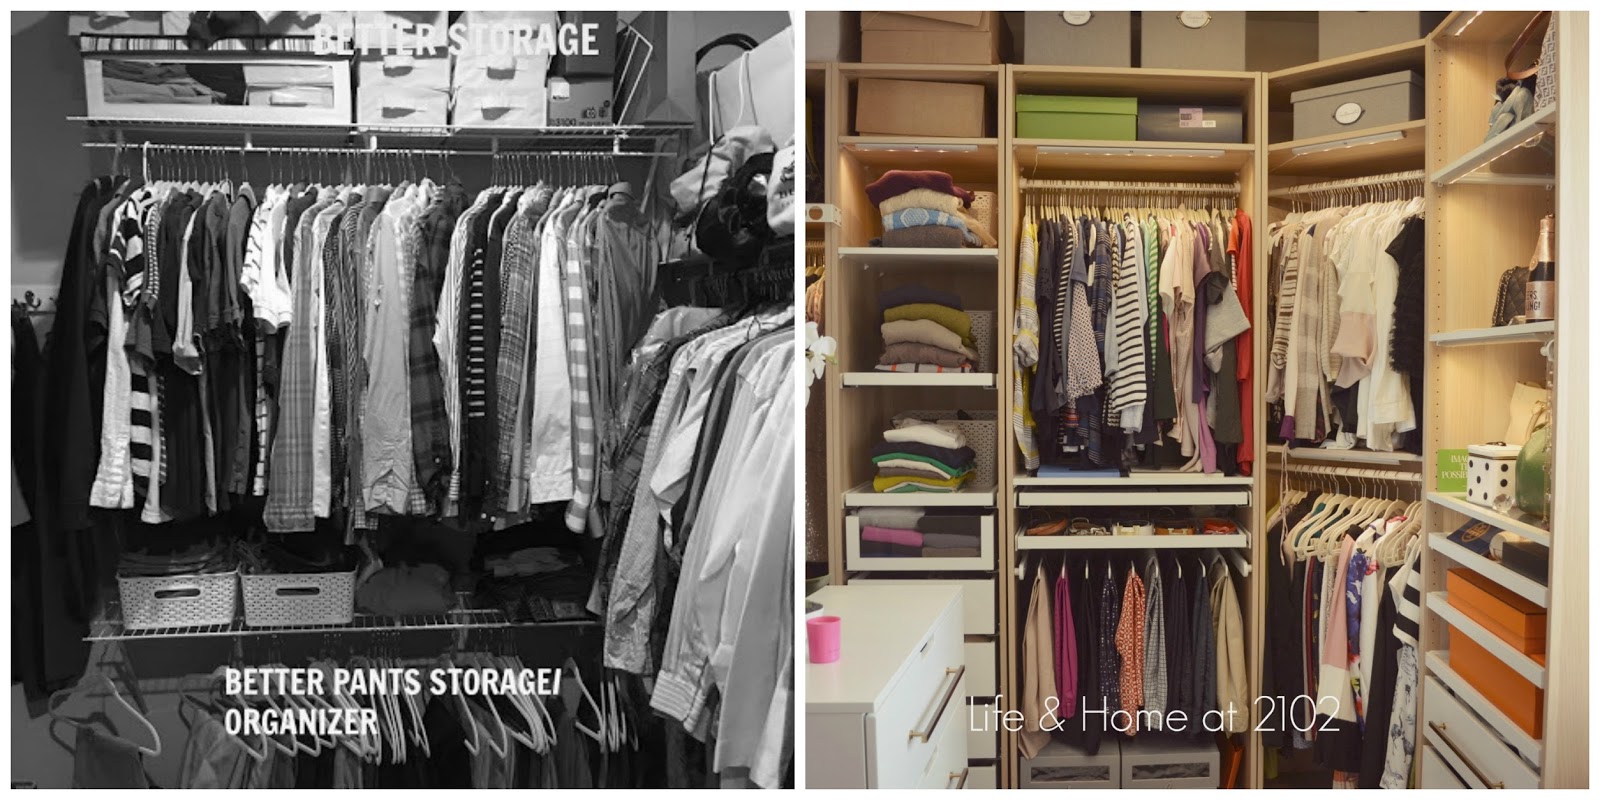
Thank you so very much for your positive and very sweet comments about our
Master Closet Project Reveal! Validation from you guys, is truly something I appreciate, seek, and count on, so thank you.
And as I mentioned before I will go into details about the closet on different posts. And since there are a lot, I want to do a short series on it.
Today, I will be discussing the IKEA PAX system itself. And although I have mostly raves about it, there some things I need to go into further detail with you.
1) Colors
We chose and
combined the
WHITE STAINED OAK cabinetry with the
WHITE shelves and drawers, except for the very top shelf.
 |
| These are the 3 available finishes from IKEA |
I wanted our cabinetry to look unique and custom, and you can do that more by combining the colors. Plus, the shelves and organizers are easily seen more against a white back drop and the handles too that I bought from
Cool Knobs and Pulls...
2) Width, Height & Depth
One of the challenges in using the PAX system was making it fit in our existing space. The Pax system came in 3 widths :
2 Heights:
2 Depths:
For the size of our closet, we ended up using a total of 5 of the 29" cabinets, 2 of the 19", all in the 93" height and 22" depth, except for one cabinet, the shoe cabinet...
 |
| 19" W x 93" H x 13" D |
We also used 2 of the Corner cabinets which btw, can be used for both depths of cabinets but will end up not being flushed against the wall if you use it with the 22" cabinet. Here's what I mean...
 |
Space between the wall and the corner cabinet behind to make it ....
|
 |
| ...Almost seamless transition between cabinets |
We ended up anchoring the corner cabinet differently from the rest. And also had to remove the baseboards on our walls to make the other cabinet flushed on the walls, to again, anchor them in. My husband used L-brackets I think to anchor the cabinets and did not use the one IKEA provided.
And again, it was not a perfect fit, at all, remember Wall E in the original
Master Closet Plan ?
 |
| Just to refresh your memory |
We could not fit another corner cabinet here so we ended up using the 29" and the 19" together...
The mirror door served 2 purposes really - 1) For checking my self out , normal mirror purpose and 2) creating the illusion that the Dress Cabinet was a continues space and not blocked by the shoe cabinet!
Lastly, on my hubs side, there was really not enough space for the cabinets on Wall A, so it ended up looking like this...
 |
| Not obvious really, but the arrow shows how the cabinet protrude vs. the corner cabinet |
I think in the end, we were just very lucky indeed everything fell into place and looked almost seamless, unless you really do look closely. ;-)
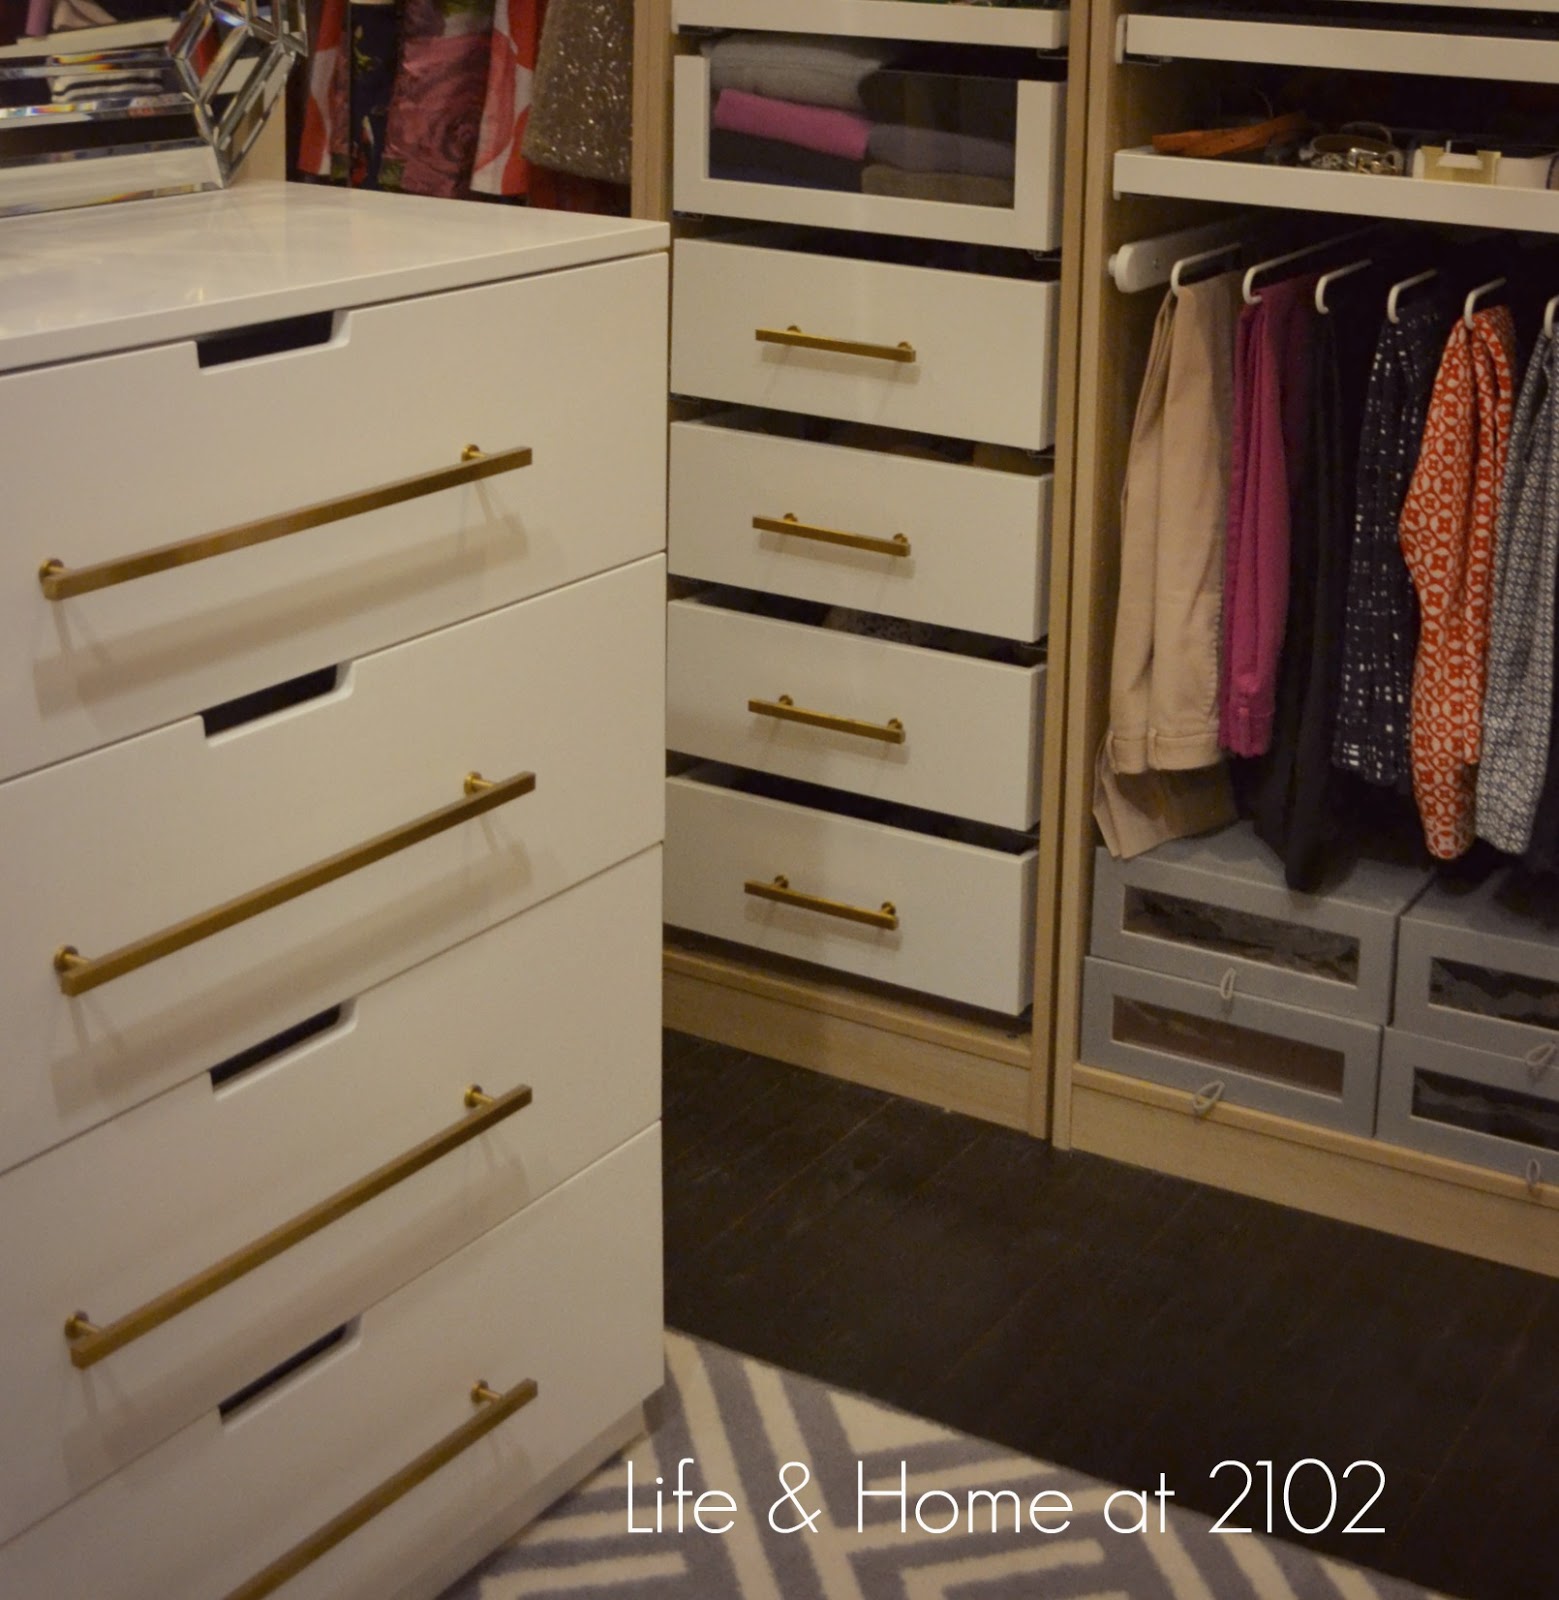
3) Interior Organizers
There's a whole gamut of
Interior Organizers you can use on the PAX system. You can see them
HERE.
For our closet, we used only the
Komplement Drawers, Glass and wood shelves, rods and valet hanger and pull-out hangers,There are wire basket drawer options too, and although you can see thru them, I just think it didn't go with the look I was going for.
4) IKEA PAX system ONLINE PLANNER
I can't say enough good things about the PAX system online planner. It is no way near perfect, but after toying with other online planners out there (well, I just tried Home Decorators program), this one is fairly easy.
You can play around with the angles of your space and personalize the interior organizers by clicking on the cabinets you add (I used cabinets for hinge doors)
 |
| Check all the plans I made HERE |
And most importantly don't forget to SAVE YOUR WORK!
5) Adding Yummy Details
Aside from the handles I added on the drawers...
....you can easily customize the cabinets with wallpaper or Gift wrapper (for backing and lining)
 |
| I used 3 kinds of gold and white wrapping paper |
... I even used Washi tape!
 |
| Like the gold foil tape I added to my shoe shelves |
... and even painting them if you don't like the colors available!
6) Lighting
One of the reasons why I think our closet looks so good (pardon my boastfulness), is because of lighting! I mean think of it, how many of our closets have great lighting other than those ceiling lights out there.
Ikea has thought of this and we chose the Striberg lighting for our cabinets which comes in 5 lengths.
 |
We opted to mount the lighting directly unto the cabinetry
This photo was taken with just the Striberg Lighting ON in the closet |
 |
| Here are other Lighting options to consider from IKEA |
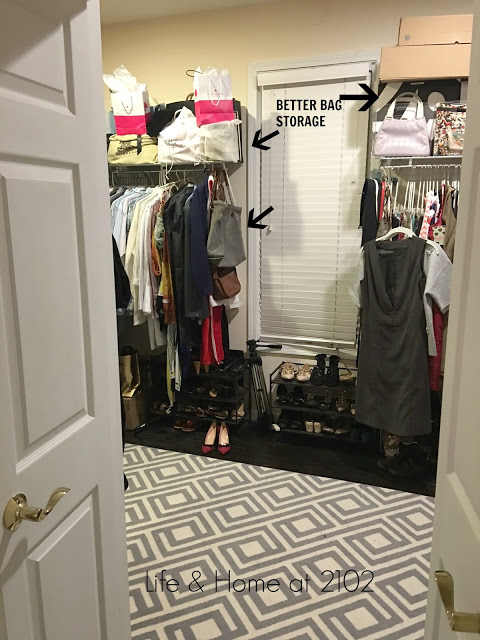
And since we wanted to use the space above the cabinet badly for seasonal clothing and more of my bags (yikes!), we did not add any of the other lighting options above!
Hew! That's a lot of details right? I hope it helps anyone planning on re-doing their closets!
Anyway, join me next time on this Closet Saga as I tackle one of my favorite things to do - ORGANIZATION!
Have a Great Weekend!
VEL
Would love to hear your thoughts! Please share away...
Linking back to:
A Little Bird Told Me Linky Party,
Thoughts of Home on Thursday,
The Pin Junkie