Showing posts with label Holiday Decorating. Show all posts

Thursday, February 18, 2016

Our Family Valentine Brunch

As with any major holiday, I try to do something special for my family in what little way I can, and
Valentines day is no exception.

Granted that I had 2 hours to prepare, I am very pleased with how our special Valentine Brunch turned out, since my husband and I just came back from a quick overnight getaway the night before, a Heart-shaped pizza (which has become a tradition in our home) was for sure on the menu....


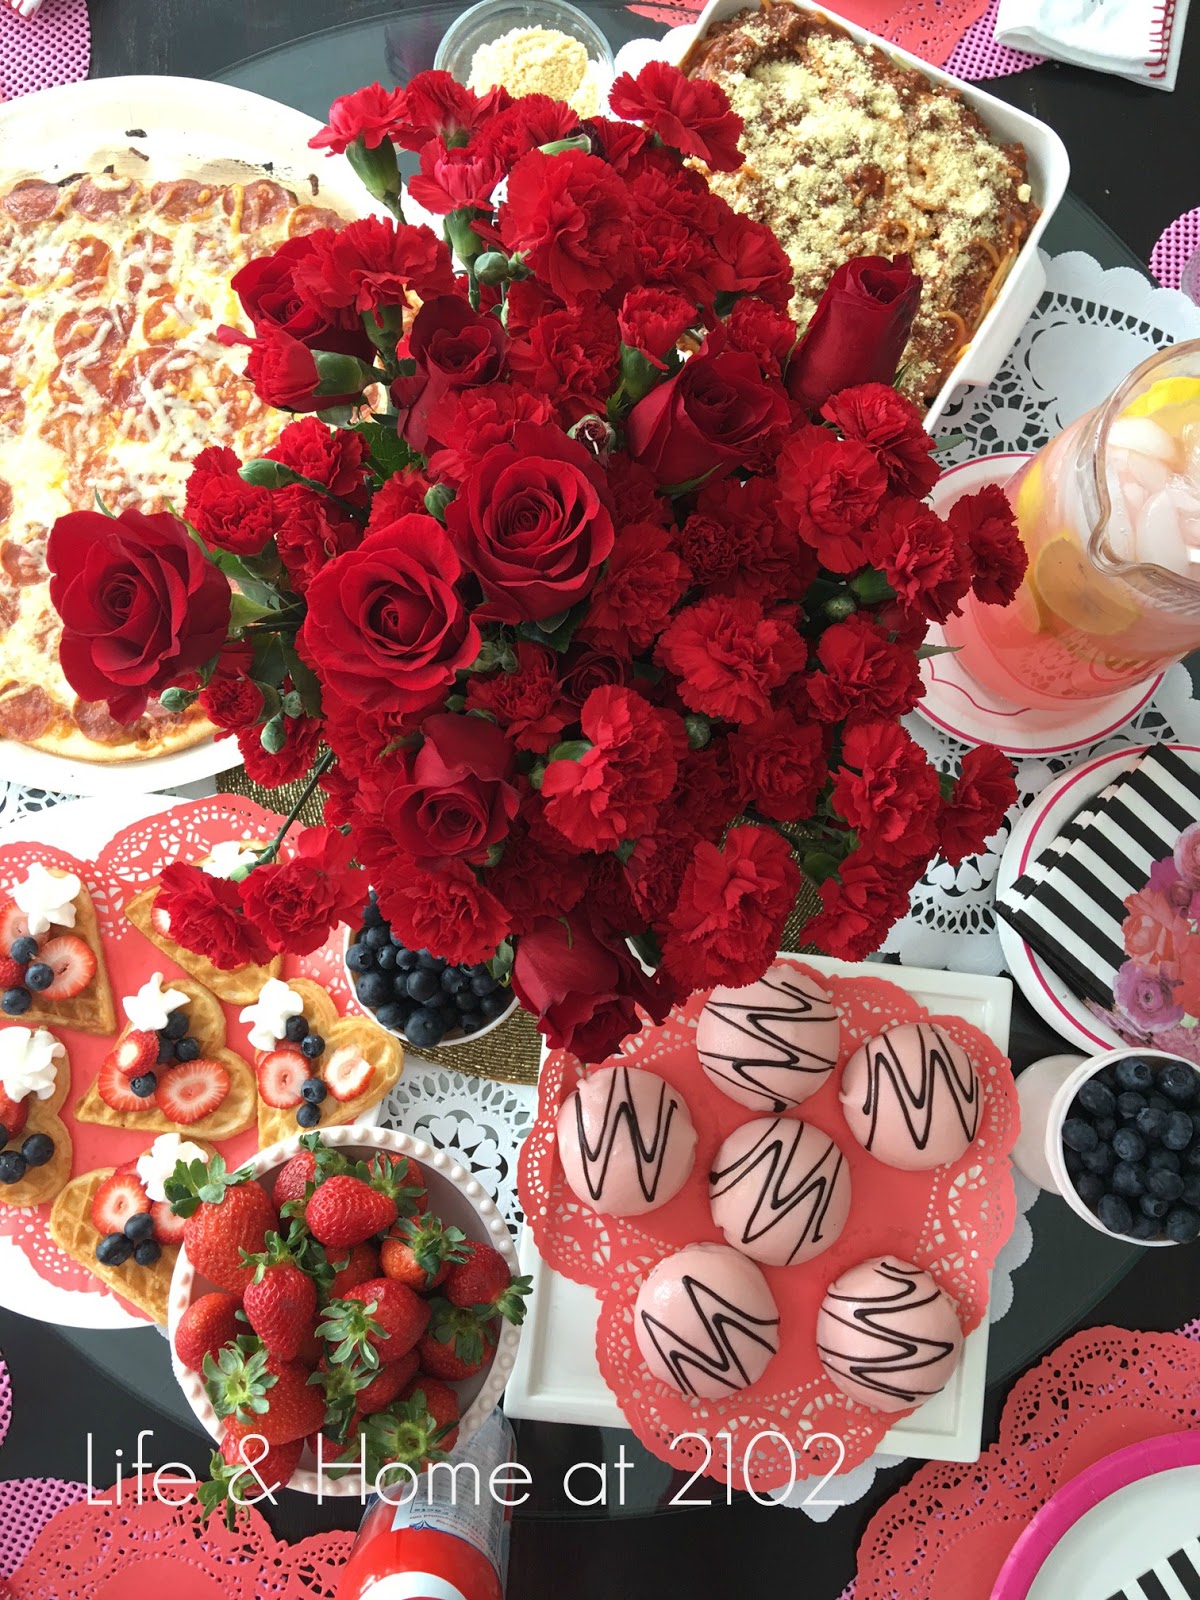
The gist of our Valentine brunch spread

Flowers are from my husbands :-) - my jumping off point

I love these Pink Almond Cakes from IKEA - pretty and yummy!
What is Brunch without some waffles (from IKEA as well) and fresh fruit?
The only thing I really cooked that day, my special Spaghetti
Our Heart-shaped pizza from Papa Murphys

Pink Lemonade is perfect of course
And since it is brunch, and nothing fancy at all, paper plates and paper napkins from Target are in order I think.

I gave the kids a Valentine card and Chocolate scented teddy bears along with their meal. I also used leftover Flamingo straws from Sophia's birthday party and added a lot of Dollar Store Doilies all around the table.


The meal went well and after all the hoopla was gone from the table, my family thanked me for their special Valentine and well, I have this beautiful flowers to remind me of this special day with my family.

Hope yours was happy and sweet my friends! Have a Wonderful Weekend!


VEL 

 Would love to hear your thoughts! Please share away...


Monday, December 7, 2015

Details on our Christmas Living Room

First of all, I want to THANK YOU for all the fabulous comments and reactions you've given me when I share with your our HOME TOUR !

At this time of year, when we give gifts to the people who have made a difference in our lives, I truly wish I could afford to give each and everyone of you one, since your gift of appreciation has meant so much to me not just for last week, but for the past years we've been cheering on each other

Anyway, today, I want to share with you some aspects of the home tour that I wasn't able to do so  the last time because there is just too many things to talk about.

 So allow me to share the other shots and vignettes  I have,   with you!

I love how this shot just shows almost everything I love about our living room
I got the 2 red pillow covers from IKEA, the 2 plaid ones are scored from Dillard's (Their bed pillows) & the grey chalkboard like one in the middle is from RLH, a score from Homegoods years and years ago!


You saw the vignette I had above the piano before. This one is just a close up of all the things in there including the votives inside these tin houses I scored from TARGET years ago. 


Hanging the stockings here by the stairs made sense to me, because of what's on the mantel.

I also added pretty plaid bows I made for the mirrors


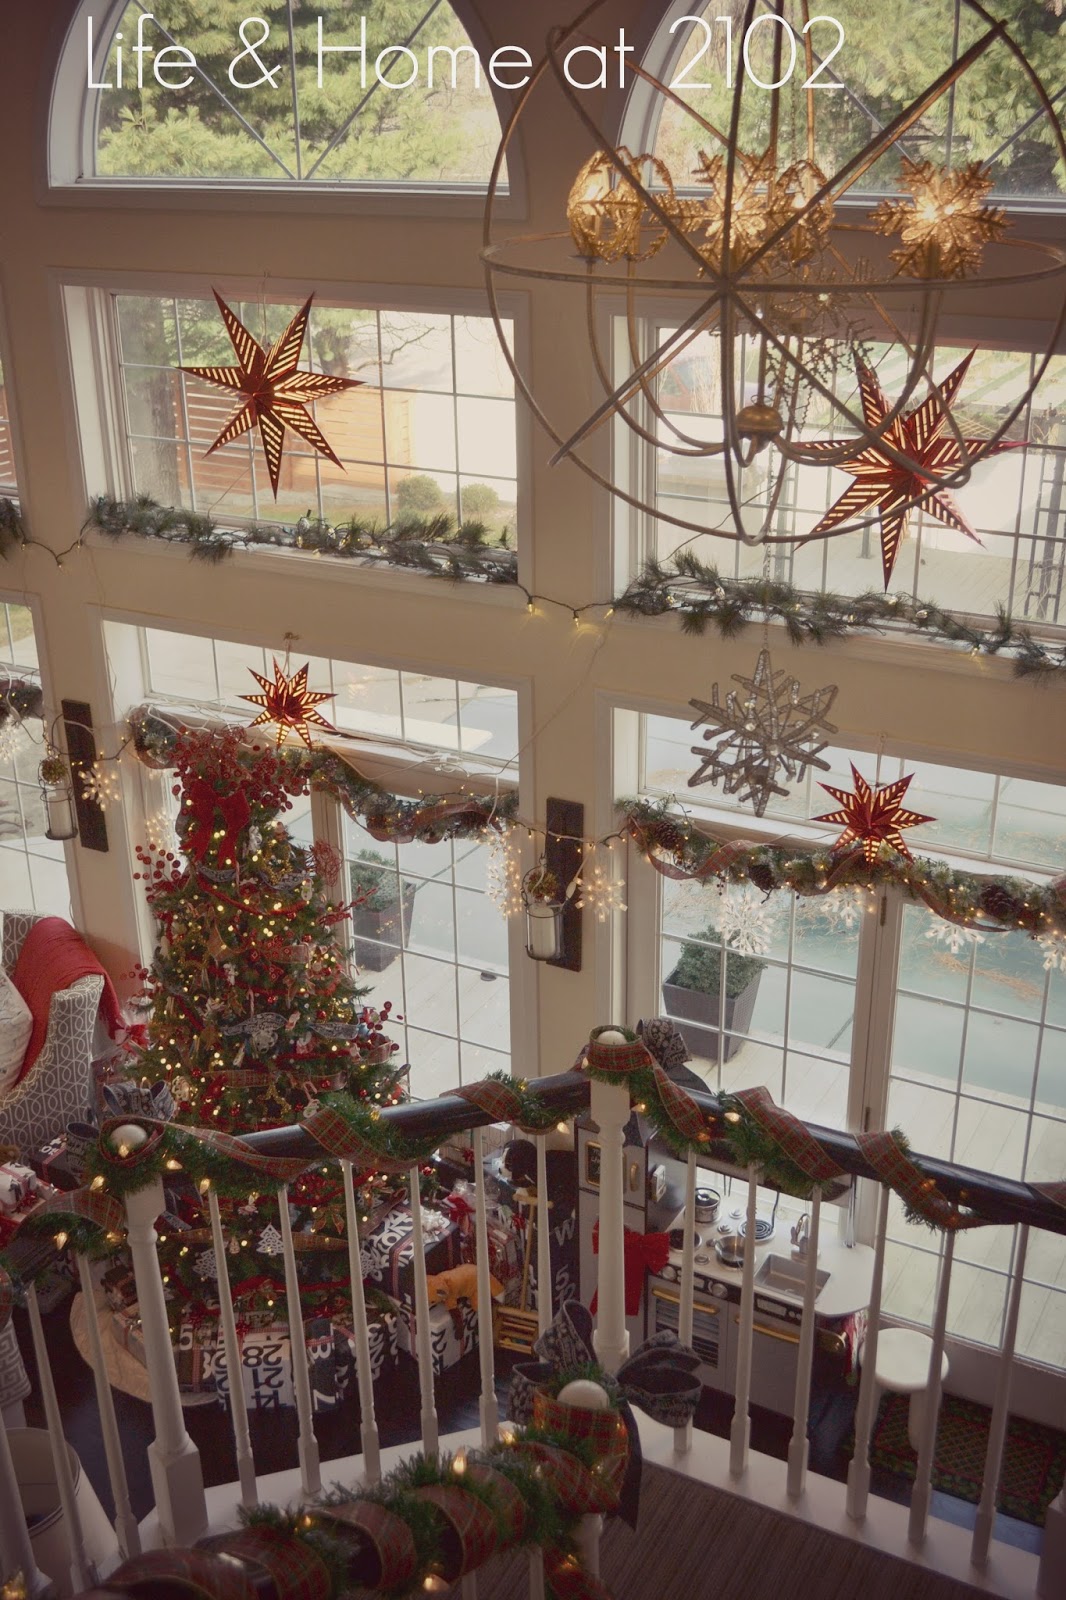
Another view from above
I placed some of my beaded snowflake ornaments again on our orb chandelier by the stairs. I just love the sparkle it gives the light!

Our media Center with a lot of Christmas tree vignettes up above
Photos with Santa and other photos of the kids went here too!


I shared with you the sitting area the last time...

... but I wanted to show you my Table vignette here.


Over at the mantel, it was jam-packed with my beloved Nativity...

Now you know why the socks couldn't go here. ;-


As for out tree, I mentioned that I switched to LED lights this year for safety reasons and also I wanted the gum-drop look of this particular lights.

Some of the sentimental ornaments that went on our tree
The Santa foam ornament and other clothespin foam ornaments are the most special for me since my son Aidan made most of them for me!!! I don't think I can ever throw them away at all -ever!

How are things on your end? I know your probably all decked out too since it's only a couple more days until Christmas! Please don't forget to visit the other house tours that are still going on now AND TO JOIN THE LINK PARTY ON DEC. 16!!!


                                                       12/1  Evolution of Style Dixie Delights 
Have a Marvelous Holiday Season Everyone!


VEL 

 Would love to hear your thoughts! Please share away...


As featured in...

Dwellings-The Heart of Your Home

Linking back to...


Sunday, October 25, 2015

My Top 10 tips to Affordable Halloween Decorating


Ok, now that you've seen my Halloween-Gaga-of-a-home,  and Halloween is just a couple of days away , and if you still want to try and catch-up with your Halloween decorating,  then you MUST read these tips!


1) Go over what you already have first.
      No brainer here, before you go on a shopping spree, always, always look at stuff you have first. Not just your Halloween stuff but other stuff you have that may pass for Halloween, such as....

Anything Black or orange..
Black lamp shade, black vase, B & W art, orange pillows
Glass Jars - and fill 'em up with creepy stuff
Some food color and spiders and weeds - viola!
Make non-eerie stuff feel eerie
It's all in the mix

2) Shop at the Dollar store
       This is no secret, with the right styling, you can make Dollar Store items look so much more than their actually worth!

Cafe Sign, Web placemats, purple flowers

3) Use Table Runners... other than AS table runners!

I've used them on my doors, windows and draped my chairs with them!


4) Printer and some scissors your halfway done.
       Just go to Pinterest and search out all the FREE PRINTABLES out there and print your heart out and change some of the pictures in your home.


Label, label, label - a big plus, FREE!
source

5) Crows and spiders go a long way. 
     After you shopping spree at the Dollar Store, hope you grabbed these critters since you can just place them anywhere and viola - instant Halloween!


6) Webbings (Gauzy fabric) are a must.


       Aside from the above examples, you can use them to as a table runner, cover chairs or tables cover your bushes outdoors... the big plus is there's no need for great upkeep, the more tattered and town, the better.

7) Change you light bulb.
      Quick, easy, cheap and instant Halloween ambience.


8) Buy a real pumpkin or two.
     If your not into carving them like I am, I only buy a couple of them for display. So easy and so perfect for both Fall and Halloween!


9) Spray or not,  some twigs from outside


Fool-proof and FREE!

10) Buy your Halloween stuff AFTER HALLOWEEN


     Most important tip of all, since everything is 50% off and eventually 75% off, buy them at this time but ALWAYS, ONLY buy stuff YOU REALLY LIKE. This is the key, or else by next Halloween you'll be run over with stuff you're not even sure why you got in the first place!
 I think the main reason why I have not changed any of my decor and kept reusing them is because 
I love them then and I love them still!


There you have it folks, I hope this will come in handy.
Remember, it's all in the spirit of fun and the great thing about Halloween is that, imperfection is perfectly acceptable and even needed!

If you want to see all of my Halloween decorations Past and Present, click HERE.
So enjoy and have a BOO-TIFUL HALLOWEEN NIGHT!


VEL 

Thursday, October 22, 2015

DIY Skeleton Hand wreath and Halloween Pillow


Ok, you all know I'm not a big-time crafter, but you all know how much inspiration one can get from blogging right? And this is just the post to showcase that. 

This wreath I made for Halloween....


 was inspired by this...


Skeleton Hands Wreath from Vanessa Brady of Tried and True Blog

Thank you very much for the inspiration Vanessa, you can check out her tutorial HERE!

This is what the hand looks like

I wanted my wreath to be bigger so I spray-painted an old charger black, wrote the "Happy Halloween" sign using gold Sharpie paint, then hot-glued the hands all around!

Ta-da!

Our Girly Halloween Entry

The other DIY I/we did for Halloween are these gorgeous pillows.


I had these grey Gurli Pillow covers from IKEA and these 2 beautiful table napkins I scored from Williams and Sonoma last year.


And since I can't sew to save my life, I sought the help of my mother-in law to sew the table napkin on top of the pillow cover .  And, VIOLA - perfect Halloween pillow! No cutting was even done!

Gingersnap Crafts


There you have it, my easy Halloween crafts. Please check out my post on Monday as I do my last post for  Halloween (actually, almost last, since I often share our Halloween costume photos here on the blog too) on my TOP 10 AFFORDABLE WAYS OF DECORATING FOR HALLOWEEN.

HAPPY DECORATING!


VEL 

Monday, October 19, 2015

Halloween in our Living Room

Hello friends!

How was your weekend? I hope your enjoying the glory of Fall in your neck of the woods, as for us here in Southern Illinois, it's been touch and go so far - one  minute we have the cool crisp fall air, the next minute, it feels like summer again?! Crazy!

Anyhow, we had a small celebration for my hubs birthday last, last Saturday and of course, that kept me busy in a very good way, since I do love to celebrate for the most important man in my life, and believe me, he deserves this kind of celebration and even more. So again,
 Belated happy birthday to my best friend and one true love!

Ok, now back to regular programming, as promised, today I will be sharing with you our Halloween Decorations in our Living room!

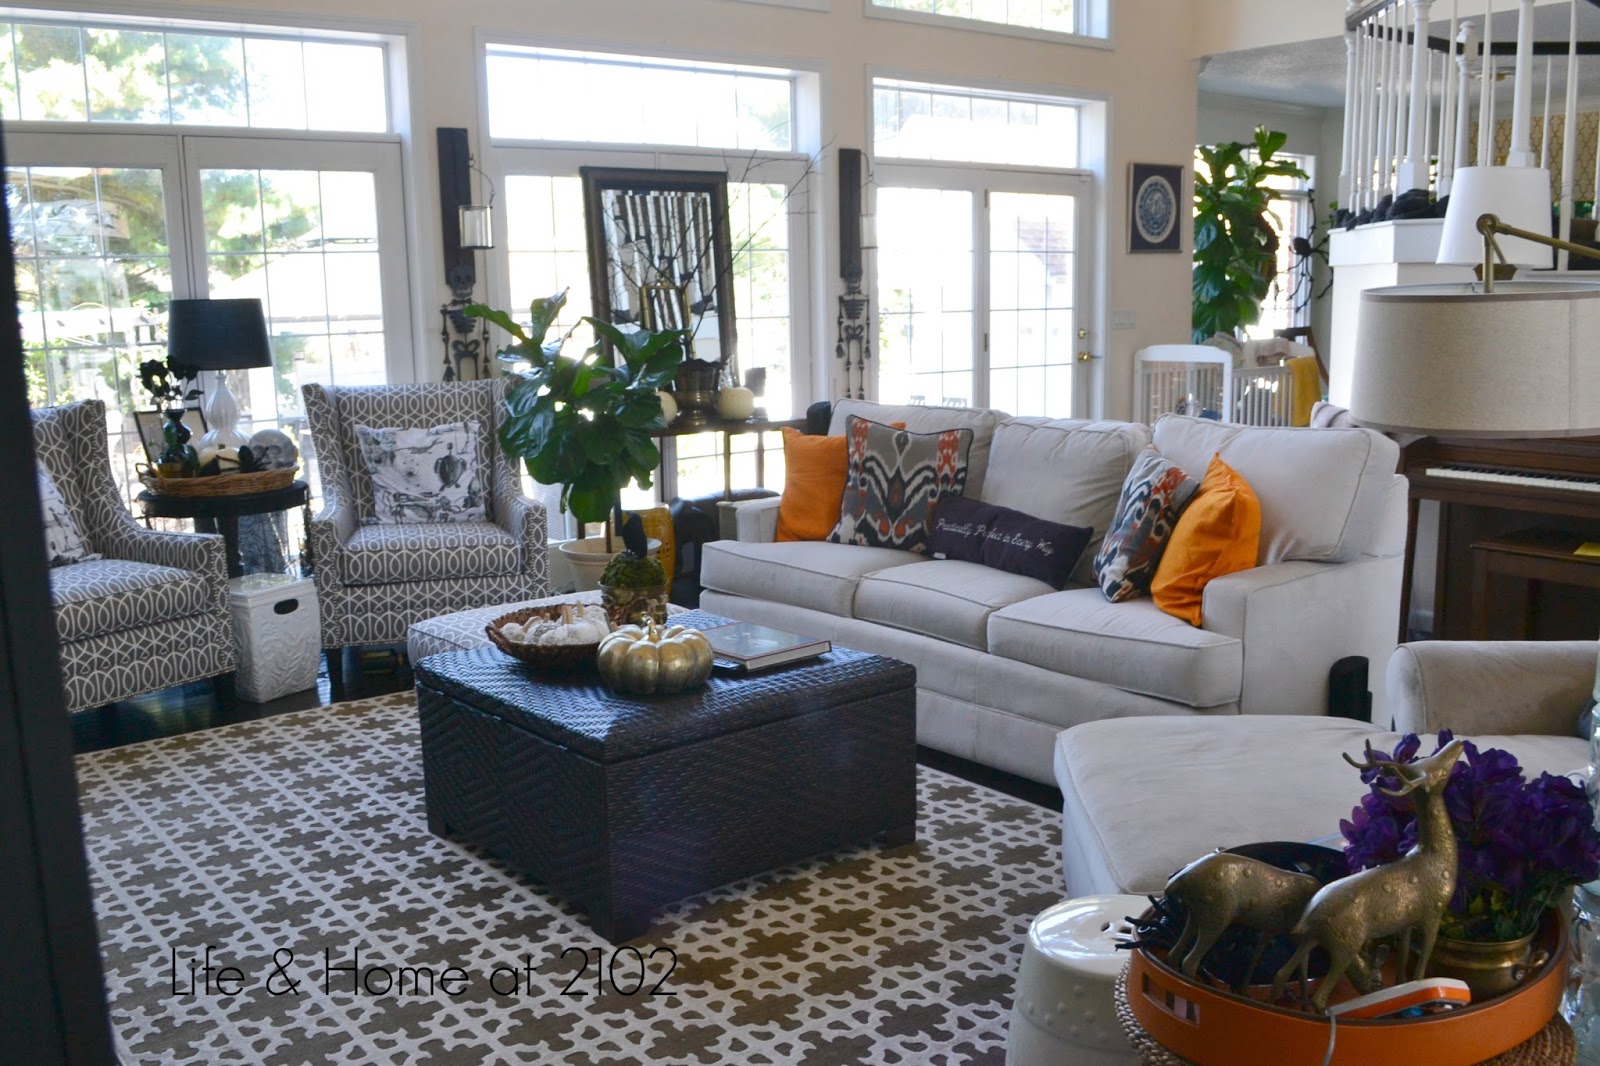
Don't mind the pink chair behind - that's where Sophia's stuff are at. :-)
I used my Ikat pillows and Disney Mary Poppins pillow again along with some new orange pillow covers I scored from IKEA.

Simple coffee table/ottoman vignette

Switched out my lamps and added these super cute pillows on my chairs

I shared this on IG, can you guess how we made this pillow covers?
I'll share with you this quick DIY Pillow project on Thursday!

More simple than last year for sure

Mix of non-halloween and Halloween  stuff. I added webbing on the bottom part of the rails - super easy but adds a "crawly-feel" to the space!


Cut out mice comes back - they always do, year after year. I've had them since we moved
to this house in 2010, so you can say they are my "Halloween Pets"!!!!! ;-)

Spiders are also oldie "pets" of mine.

My console is all simple too 

Spray-painted a huge branch from a dead-tree black and just placed it inside my brass
bucket and filled it with gauzy fabric. Pumpkins and witches hat plate complete this simple set-up.


Simple Fall Mantel with faux pumpkins and  brass candlesticks


Had to remove the lampshades besides the sofa to avoid any possible mishaps for our little walker ;-)

I'm almost done sharing with you all the Halloween goodness in our home. 
On Thursday I will share with you very Simple DIY projects for Halloween then come Monday, my Top 10 tips for Affordable Halloween Decorating!


Have a Great Week!


VEL