Showing posts with label home improvement. Show all posts

Monday, October 10, 2016

Something new in the Breakfast area...


When I shared my Kitchen and Breakfast area in the last  Fall Home tour, did you notice something different?

Here it is again... See?
See the difference now?


We got window treatments!


Window Treatments drawn up
  No we did not cut our Fiddle Leaf fig trees, the big ones are now in the living room. The ones here now are my little ones.


We ordered these custom roller shades from HOME DEPOT and it took forever for it to arrive, but glad that the wait was worth it since I'm pretty pleased with how it turned out!


We ordered these Early July and they were installed late mid-September. This is the only place in the house where direct sunlight goes thru the left window, which is fine, but if your sitting across from it, would be glaring in your face. So my hubs said we needed window treatments.

I was giddy at first but deciding on what type was a pain. I looked at both online and in-store for different treatments. And since it's in the kitchen, something sturdy, and don't need washing, was in order (curtains and fabric shades were out).


We like how it still lets the light in and is completely wipeable! Anyway, sharing my Halloween home with you soon!

Have a Great week!

VEL

 Would love to hear your thoughts! Please share away...

Monday, May 9, 2016

One last thing about the Master Closet....


I hope you all had a wonderful Mother's day! Wether your celebrating your mom, or your family is celebrating YOU, Mother's day is just a perfect way of saying "thank you" and "i Love you" to the most important women in our lives so it's definitely an occasion worth celebrating!

I for one, spent it with my family of course, with a nice breakfast my husband bought from Panera, followed by church and then headed of to a wonderful lunch with our closest friends. Perfect.


Anyway, I hope you won't get "Closet Fatigue" because of my obsession with mine. But I needed to show you one problem area that I haven't quite gotten to yet in this space...


This side...
 Basically, I need to fix the dresser wall inside the closet. I know I can easily paint it, but I wanted to make this space more fabulous by adding wall paper!

My bad job covering the holes and cracks


There's also this wall....


Same look above the window as you can see on the photo above. And I want to put this...


Tiled Geode Wallpaper from Ballard Designs

I got the sample a couple of weeks ago and I fell in love with it! I hope we can put it up real soon so I can finally say this closet is D-O-N-E!

If you want to check out "Closet Related Matters", check out the links below...


Also this is the last week, and reveal week also for the ONE ROOM CHALLENGE,  so I am scrambling like a madwoman trying to get this room ready and done! I hope you join me on Thursday to see if I can do what I set out to accomplish! YIKES!

Let's just say, I hit a huge snag with my wallpaper wall - literally and figuratively!


Have a Great week!

VEL Would love to hear your thoughts! Please share away...

Thursday, May 5, 2016

ORC Week 5 - We've got Paint (& Some other fun stuff)


Ok, we're in crunch time for the ONE ROOM CHALLENGE!

LINK UP HERE

I might be able to finish my son's room on time next week since we actually just got paint -YESTERDAY!
Clean slate
Granted I 'begged' my painter to hurry on with the room and explained to him my reasons (including the ORC), I'm thinking he might be looking at me with both eyebrows meeting and with a very weird-ed out look! LOL!

My fabulous husband also finished adding these....

SOURCE

I really have been in love with Campaign furniture for a while now...


But I didn't want to spend so much on dressers and nightstands for my kids room. So I was so happy when I found this hardware from Home Depot. And here are my more affordable versions of this popular design...


Dresser

Closer look at hardware
Side Table

I used the IKEA MALM series for this project. And like most IKEA pieces, they are great on their own and great too as 'blank canvasses'!

I'm also going to update the lighting!

SOURCE

I just couldn't resist when I saw this lighting, perfect for my young man's room and love for reading.

Now all we need to tackle is the Desk and of course, the most important aspect, the WALLPAPER! -
YIKES!


The MESS we're in right now

Now, let's get on to see how close the others are too to finishing their rooms!

LINK UP HERE


Have A Wonderful Mother's Day Weekend Everyone!


VEL

 Would love to hear your thoughts! Please share away...

Thursday, February 25, 2016

Guide to Building your own Closet using the IKEA PAX SYSTEM- Design Details Master Closet Part 1

Thank you so very much for your positive and very sweet comments about our Master Closet Project Reveal! Validation from you guys, is truly something I appreciate, seek, and count on, so thank you.

And as I mentioned before I will go into details about the closet on different posts. And since there are a lot, I want to do a short series on it.

Today, I will be discussing the IKEA PAX system itself. And although I have mostly raves about it, there some things I need to go into further detail with you.

1) Colors


We chose and combined the  WHITE STAINED OAK cabinetry with the WHITE shelves and drawers, except for the very top shelf.

These are the 3 available finishes from IKEA
I wanted our cabinetry to look unique and custom, and you can do that more  by combining the colors. Plus, the shelves and organizers are easily seen more against a white back drop and the handles too that  I bought from Cool Knobs and Pulls...


2) Width,  Height & Depth

One of the challenges in using the PAX system was making it fit in our existing space. The Pax system came in 3 widths :

IKEA PAX WIDTHS
2 Heights:

IKEA PAX HEIGHTS
2 Depths:

IKEA PAX DEPTHS
For the size of our closet, we ended up using a total of 5 of the 29" cabinets, 2 of the 19", all in the 93" height and 22" depth, except for one cabinet, the shoe cabinet...

19" W x 93" H x 13" D
We also used 2 of the Corner cabinets which btw, can be used for both depths of cabinets but will end up not being flushed against the wall if you use it with the 22" cabinet. Here's what I mean...

Space between the wall and the corner cabinet behind to make it ....

...Almost seamless transition between cabinets
We ended up anchoring the corner cabinet differently from the rest.  And also had to remove the baseboards  on our walls to make the other cabinet flushed on the walls, to again, anchor them in. My husband used L-brackets I think to anchor the cabinets and did not use the one IKEA provided.

And again, it was not a perfect fit, at all, remember Wall E in the original Master Closet Plan ?

Just to refresh your memory

We could not fit another corner cabinet here so we ended up using the 29" and the 19" together...


The mirror door served 2 purposes really - 1) For checking my self out , normal mirror purpose and 2) creating the illusion that the Dress Cabinet was a continues space and not blocked by the shoe cabinet!

Lastly, on my hubs side, there was really not enough space for the cabinets on Wall A, so it ended up looking like this...

Not obvious really, but the arrow shows how the cabinet protrude vs. the corner cabinet
I think in the end, we were just very lucky indeed everything fell into place and looked almost seamless, unless you really do look closely. ;-)

3) Interior Organizers

There's a whole gamut of Interior Organizers you can use on the PAX  system. You can see them HERE.

 For our closet, we used only the Komplement Drawers, Glass and wood shelves, rods and valet hanger and pull-out hangers,There are wire basket drawer options too, and although you can see thru them, I just think it didn't go with the look I was going for.


4) IKEA PAX system ONLINE PLANNER

I can't say enough good things about the PAX system online planner. It is no way near perfect, but after toying with other online planners out there (well, I just tried Home Decorators program), this one is fairly easy.

You start HERE
You can play around with the angles of your space  and personalize the interior organizers by clicking on the cabinets you add (I used cabinets for hinge doors)

Here's what the page looks like
Check all the plans I made HERE
And most importantly don't forget to SAVE YOUR WORK!

5) Adding Yummy Details

Aside from the handles I added on the drawers...

Swirled Agate Knob from Anthropologie

....you can easily customize the cabinets with wallpaper or Gift wrapper (for backing and lining)


I used 3 kinds of gold and white wrapping paper
... I even used Washi tape!
Like the gold foil tape I added to my shoe shelves
... and even painting them if you don't like the colors available!

6) Lighting

One of the reasons why I think our closet looks so good (pardon my boastfulness), is because of lighting! I mean think of it, how many of our closets have great lighting other than those ceiling lights out there.

Ikea has thought of this and we chose the Striberg lighting for our cabinets which comes in 5 lengths.
Striberg Lighting can be mounted this way too
We opted to mount the lighting directly unto the cabinetry
This photo was taken with just the Striberg Lighting ON in the closet
Here are other Lighting options to consider from IKEA
And since we wanted to use the space above the cabinet badly for seasonal clothing and more of my bags (yikes!), we did not add any of the other lighting options above!

Hew! That's a lot of details right? I hope it helps anyone planning on re-doing their closets!

Anyway, join me next time on this Closet Saga as I tackle one of my favorite things to do - ORGANIZATION!


Have a Great Weekend!

How we got here...
The Master Closet Reveal


VEL


 Would love to hear your thoughts! Please share away...


Linking back to: A Little Bird Told Me Linky Party, Thoughts of Home on Thursday, The Pin Junkie

Sunday, February 21, 2016

Master Closet Reveal - The Best Valentine's Gift EVER

We're finally ready to show to you the fruit of our labor! I will let the pictures do most of the talking and will go into details later on on different posts....

Our Master Closet Suite

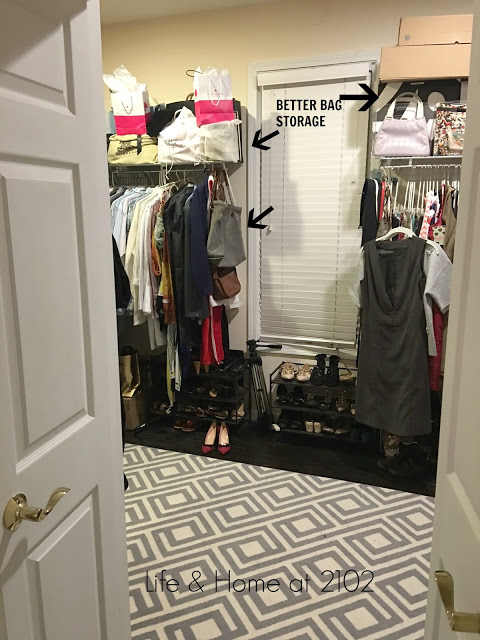
The same angle BEFORE
Let's start with MY SIDE of the Closet shall we?

My Small Jewelry Vanity

Chose this Capiz Scalloped Chandelier from Serena & Lily
among the Lighting Options I was contemplating on HERE

Used a Brass Floral Wall Decor for my Long necklaces a friend of mine gave me
Finally, the Purse Display I've always wanted
Pull out shelves for my special bags

Pull out shelf for my clutches, wallets and scarves

The drawers on the bottom all contain my other bags too!
Will share them with you later on

A space for everything - Love the IKEA PAX system, truly!
Pull-out-shelves too for my folded sweaters
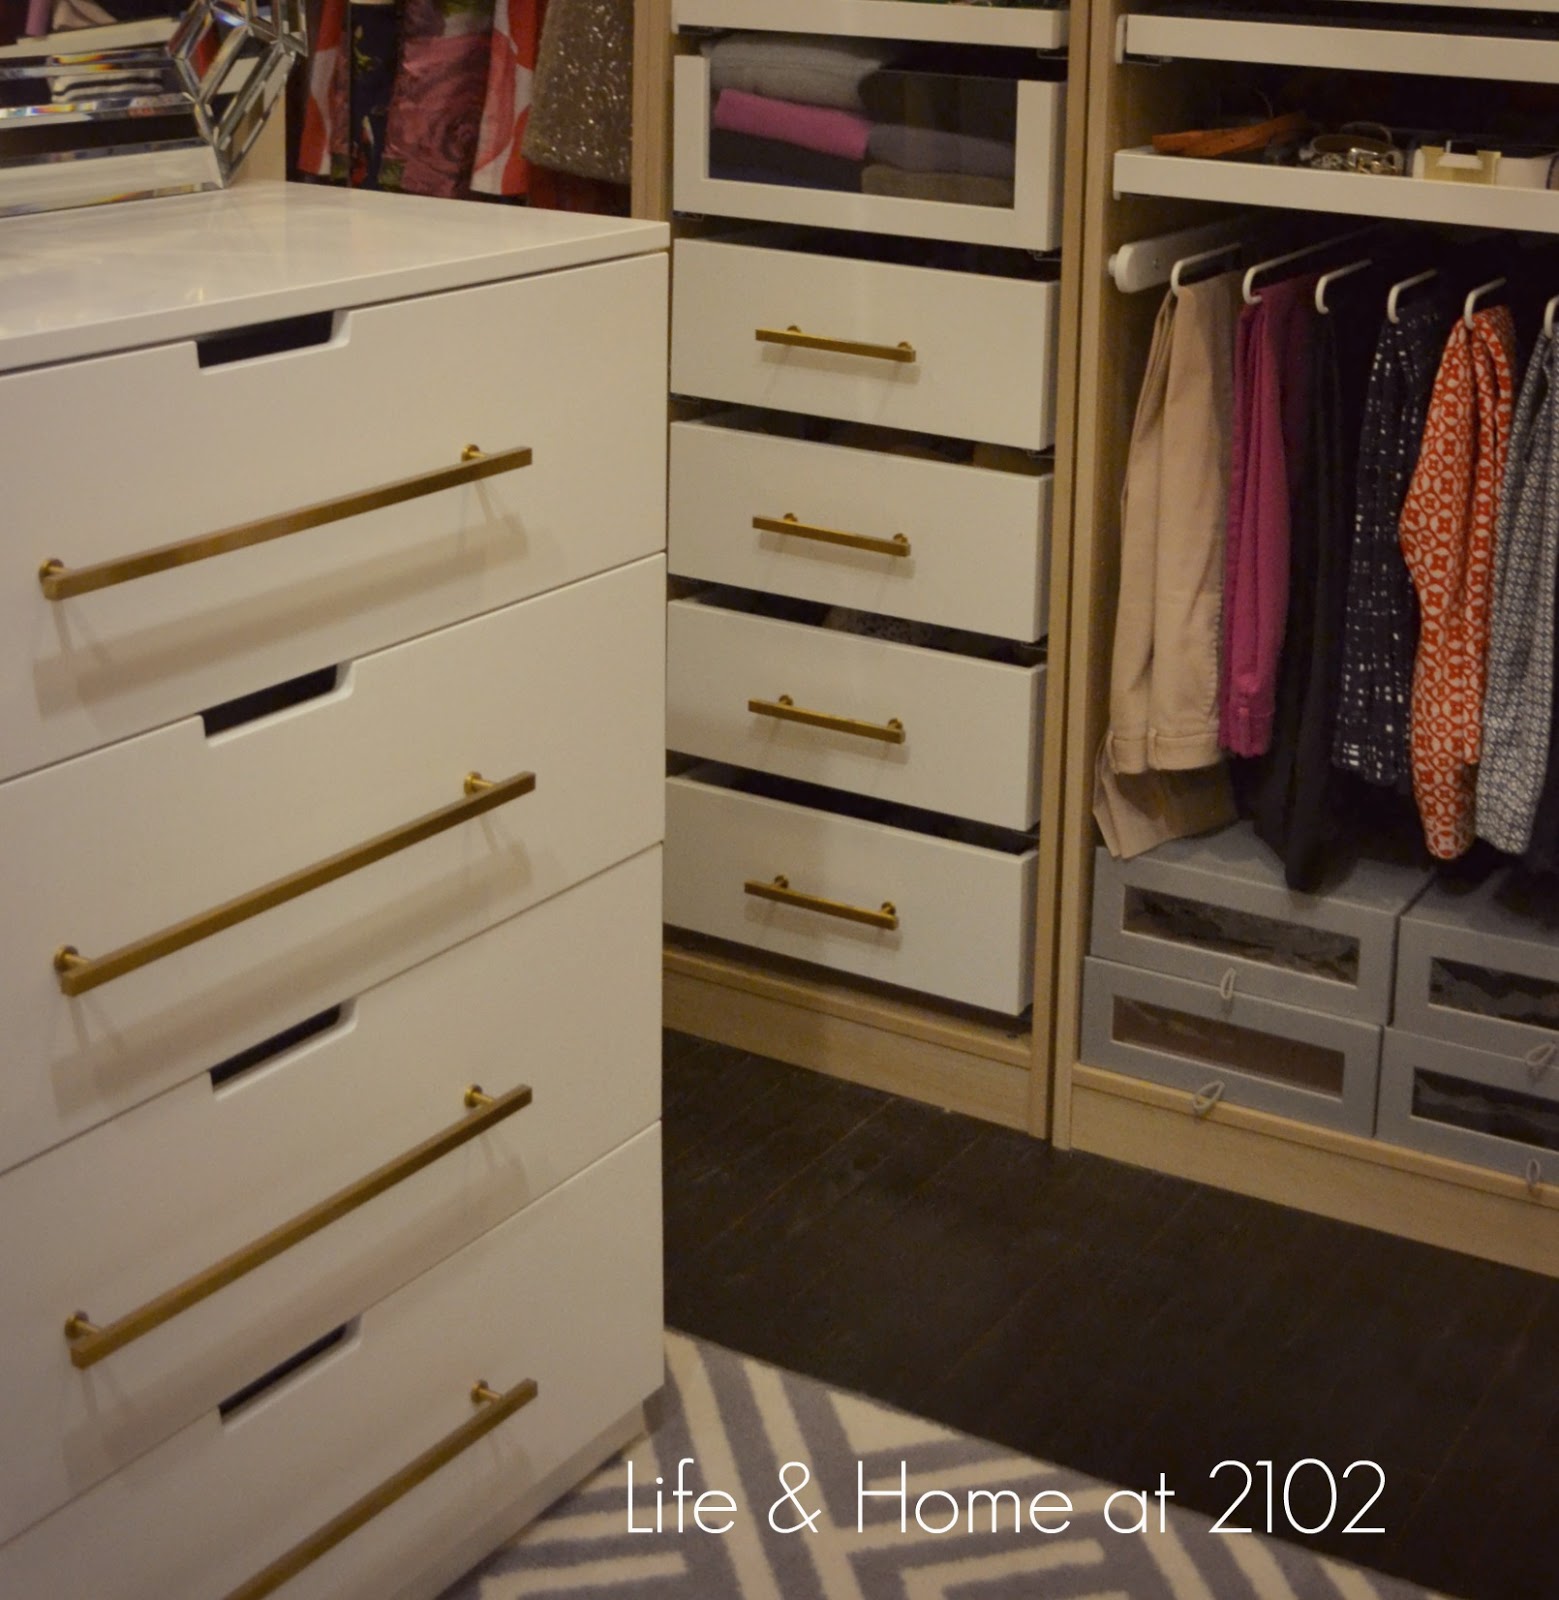
Lots of drawers is always a big PLUS! I'm in love with the these Amber Gold Bar pulls
Something pretty atop my small dresser

A place for all my dresses and travel bags 
Long mirror hides more goodness for moi...

...my shoes!
Now on to HIS SIDE of the closet...

Neat and organized

Just like my side, a place for everything, though obviously, I added this small show shelf for some of his dress shoes

I rolled up his ties and ended up with room for so much more!
Ample storage all the way of the ceiling was also realized with this closet and I LOVE IT!
I would like to give a big 'THANK YOU' to my husband who did most of the hard work in building all this! I also need to thank my Father-in-law who helped him do this too. All the after-work effort truly paid off hon, this is truly your 'best Valentines gift' yet!

There is so much to share about our closet and ways on how you can organize yours, so I hope you come back and check out the details on a later post!Of course the main star of this project is the IKEA PAX SYSTEM itself. And though IKEA in no way sponsored this post, I am happy to give them a huge shout out as well! Our closet doesn't only look good, it's very, very functional and organized, I'm sure you will be able to get some ideas from it.

I am truly, truly inlove with this new space. It is not fully done yet (and you'll see why later on too), but already, it has made life so much easier for us (yup, no more searching endlessly for things I cannot find, for me or for him ;-)). I feel too that it also exudes a little bit more luxury in my life when I do dress up!

Well, I hope you enjoyed this closet project of ours. I placed all the LINKS of all the posts regarding the closet at the bottom, so check it out if you missed any. And like I said, expect more DETAILS in the coming days ahead! I hope you won't get 'closet overload' from me!

Smiling for 2 reasons - what's behind me and what's
in front of me!!!

How we got here...


Have a Great Week!


VEL